Vault
It is worth noting that Serverless API Keys do not work on general CentML solutions and Bearer Tokens do not work on serverless endpoints.
You will need to create one of each if you’d like to use CentML LLM endpoints as well as CentML serverless endpoints.
This guide will walk you through creating both Bearer Tokens, Serverless API Keys, and other Vault objects you can use to configure or access CentML services.
Step 1: Login to the CentML Platform
Regardless of if you are creatingServerless API Keys, Bearer Tokens,or other Vault objects you will need to login to the CentML platform. If you do not know how to login or do not have an account, please follow the Creating an Account documentation before proceeding.
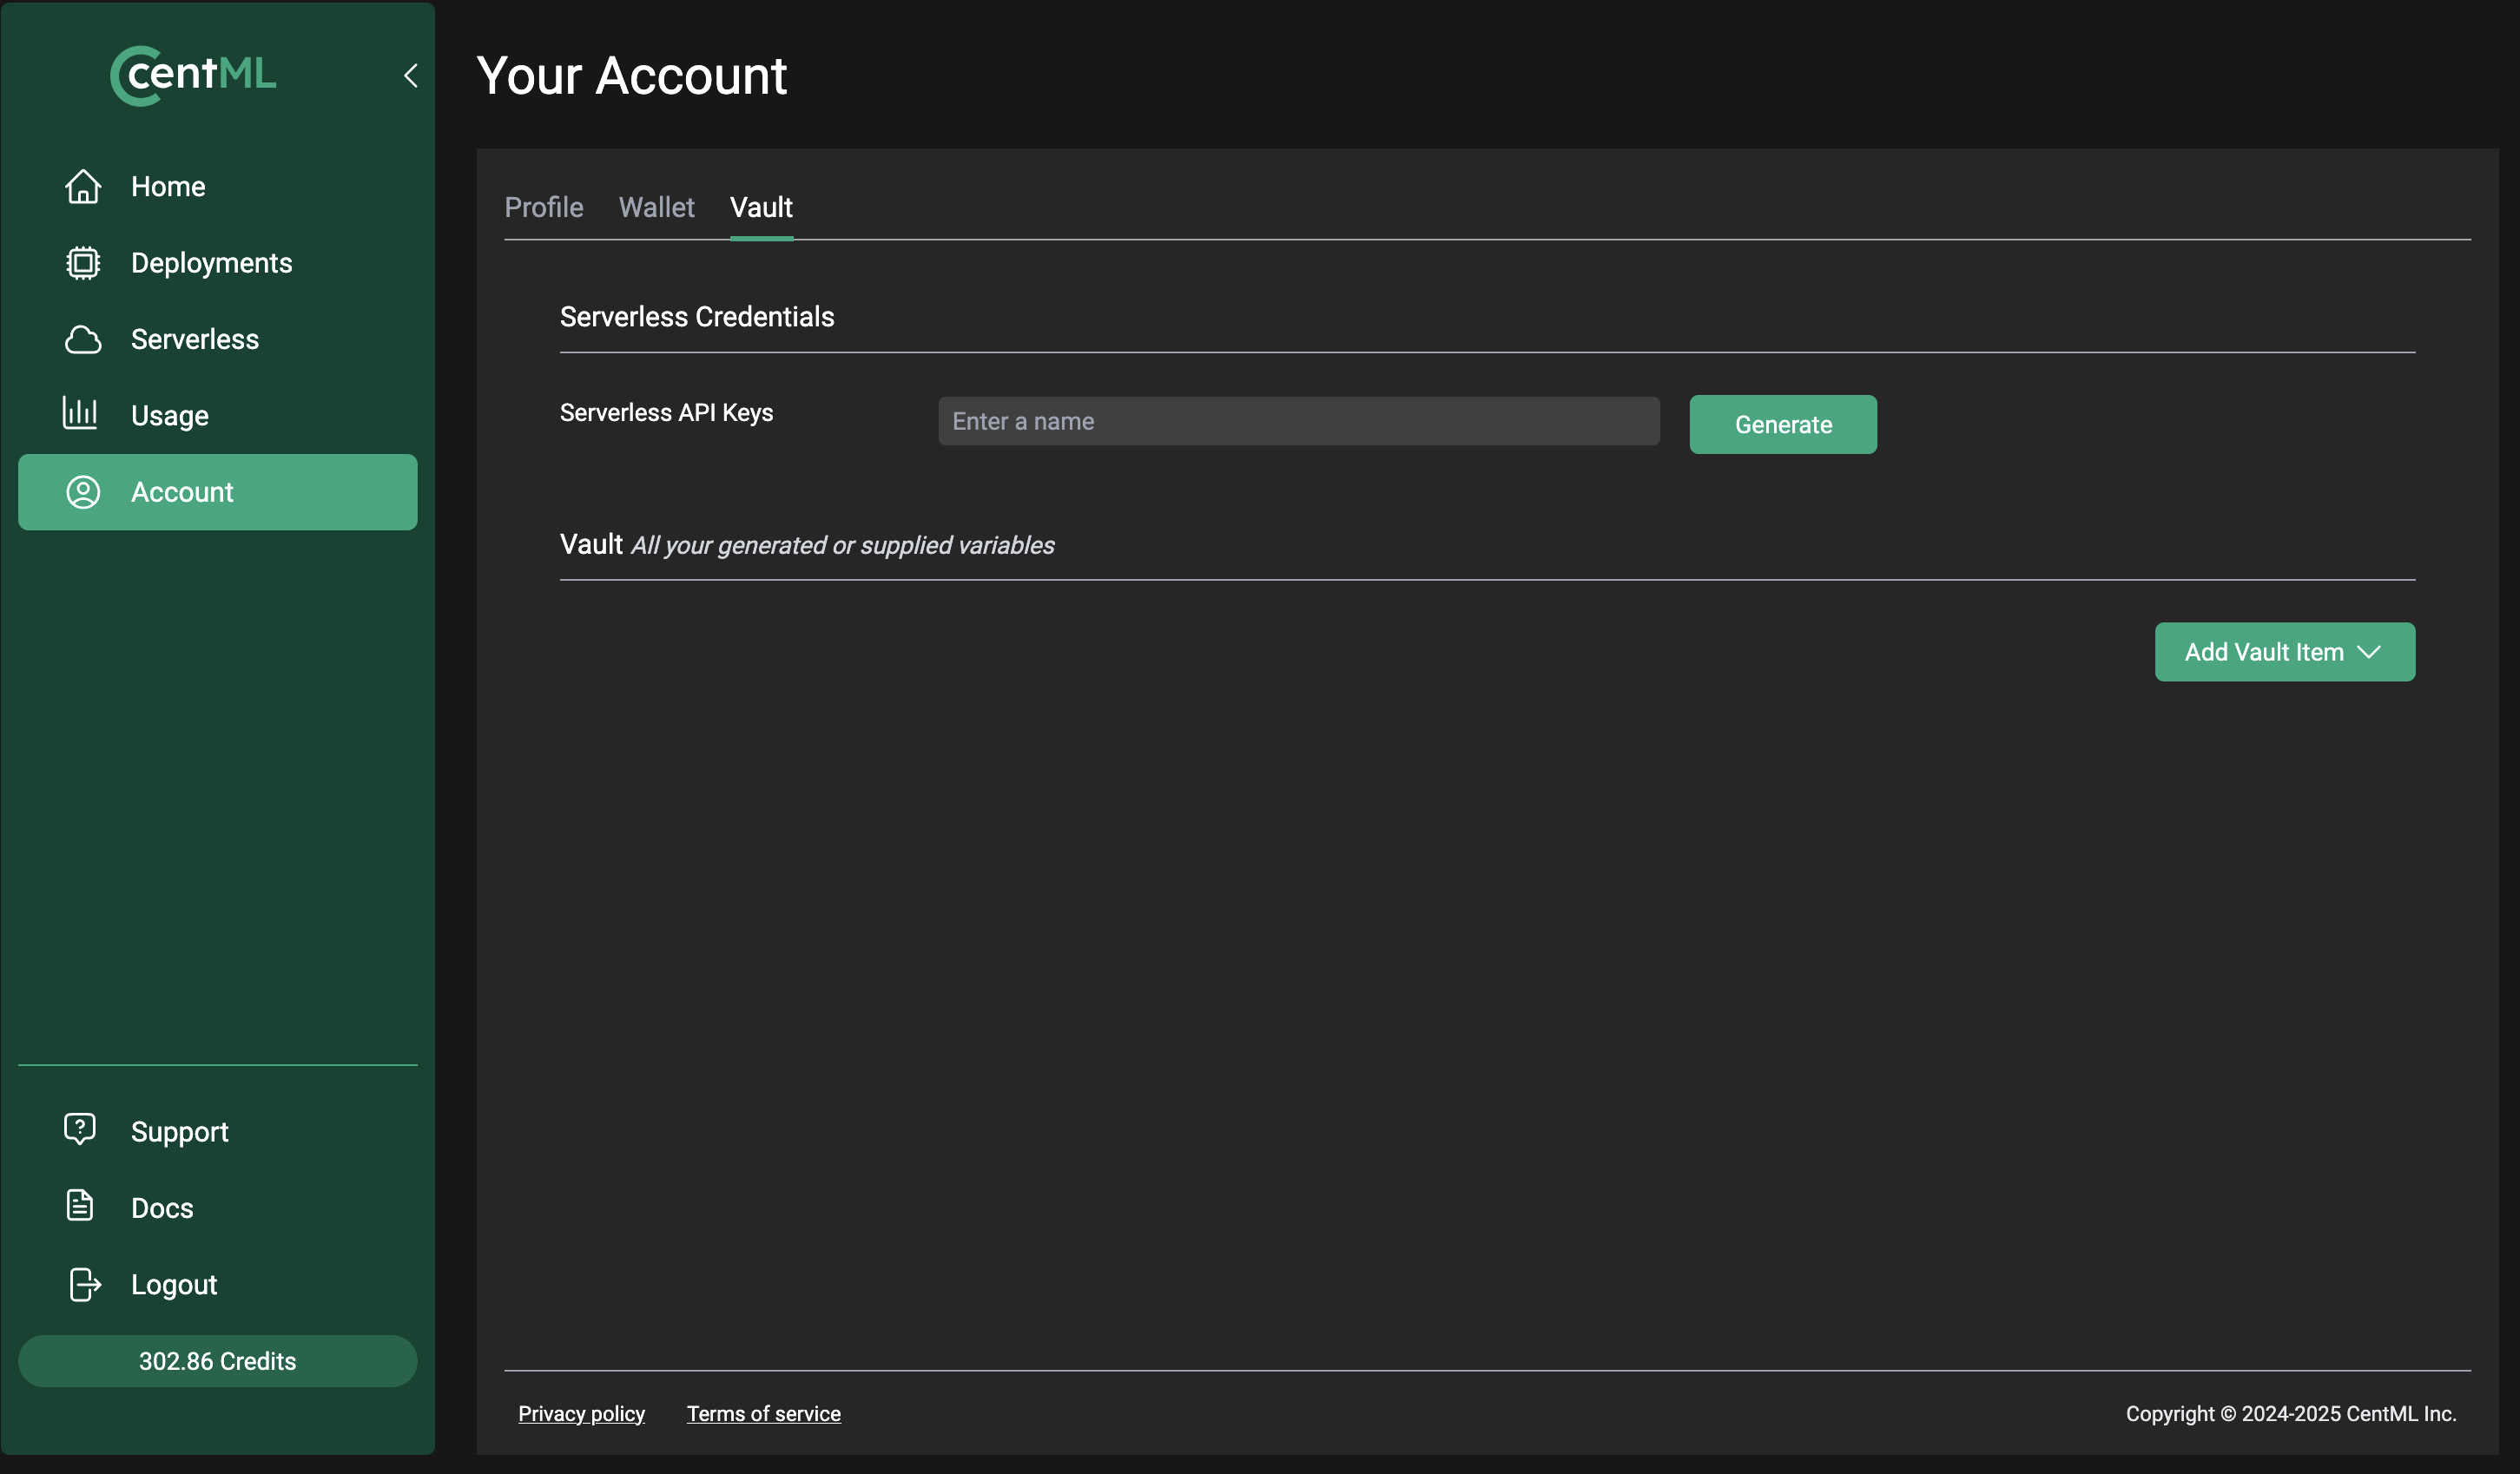
Once logged in, you will need to select Account from sidebar menu, and then click on the Vault tab from the Your Account window.
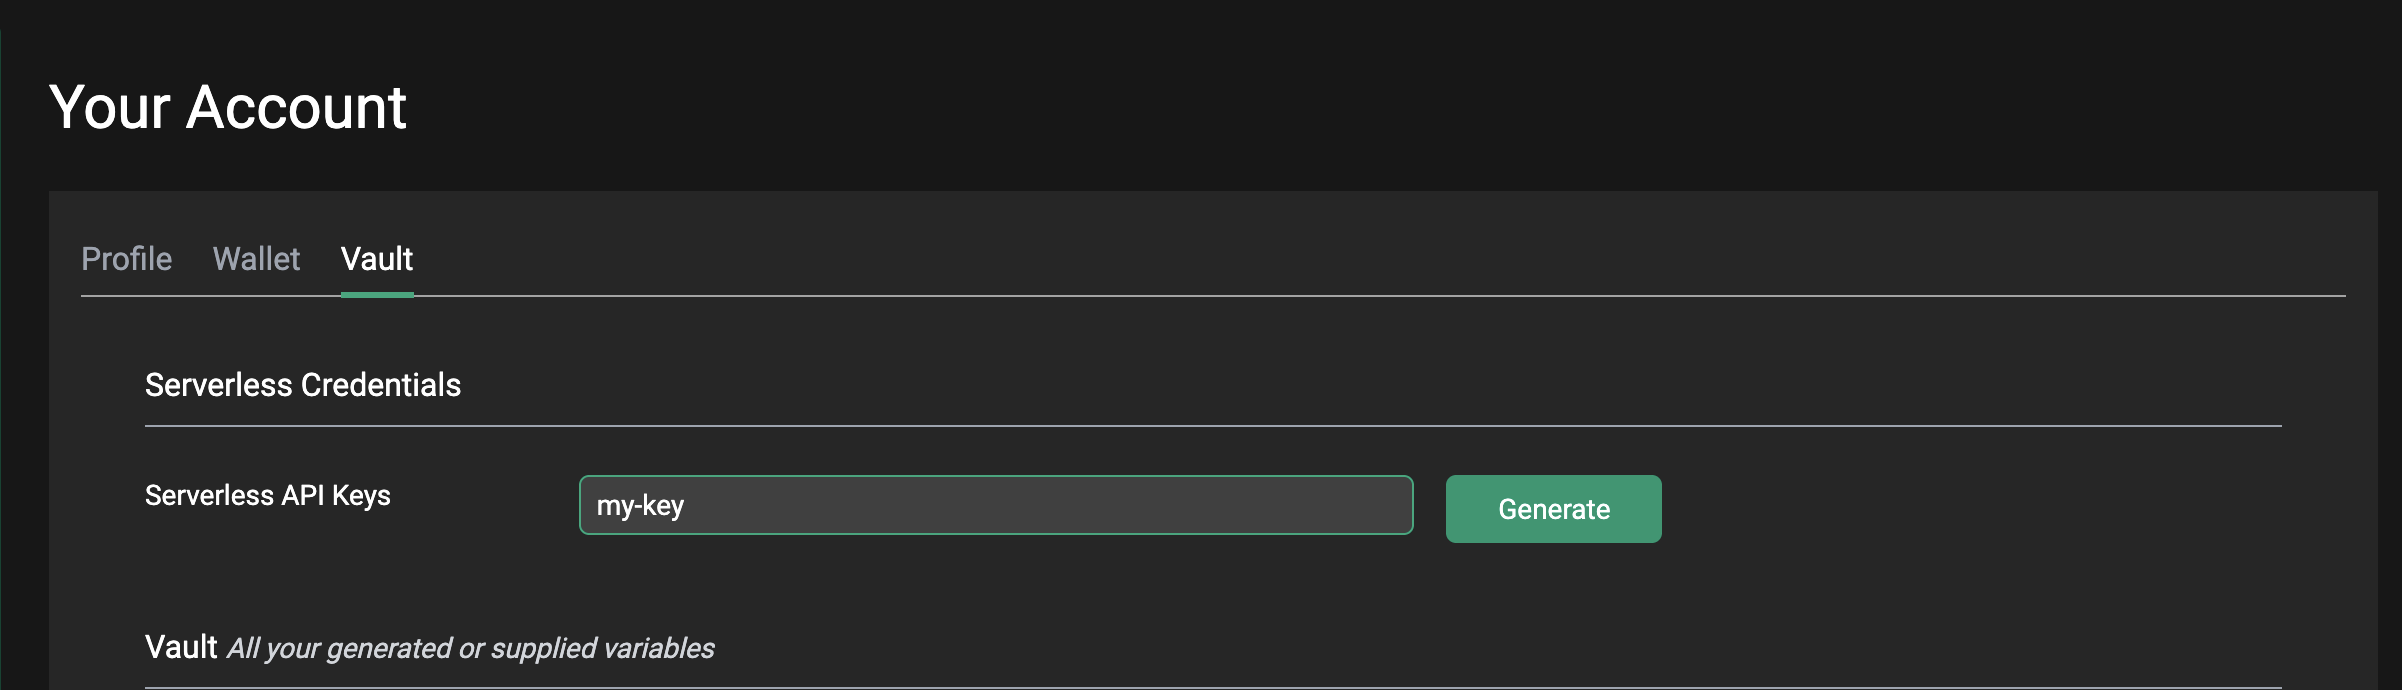
Step 2A: Creating Serverless API Keys
Serverless API Keys are used for accessing the CentML serverless endpoints either via the UI or API calls directly.
To create a key, click on the green Generate button on the Your Account screen.

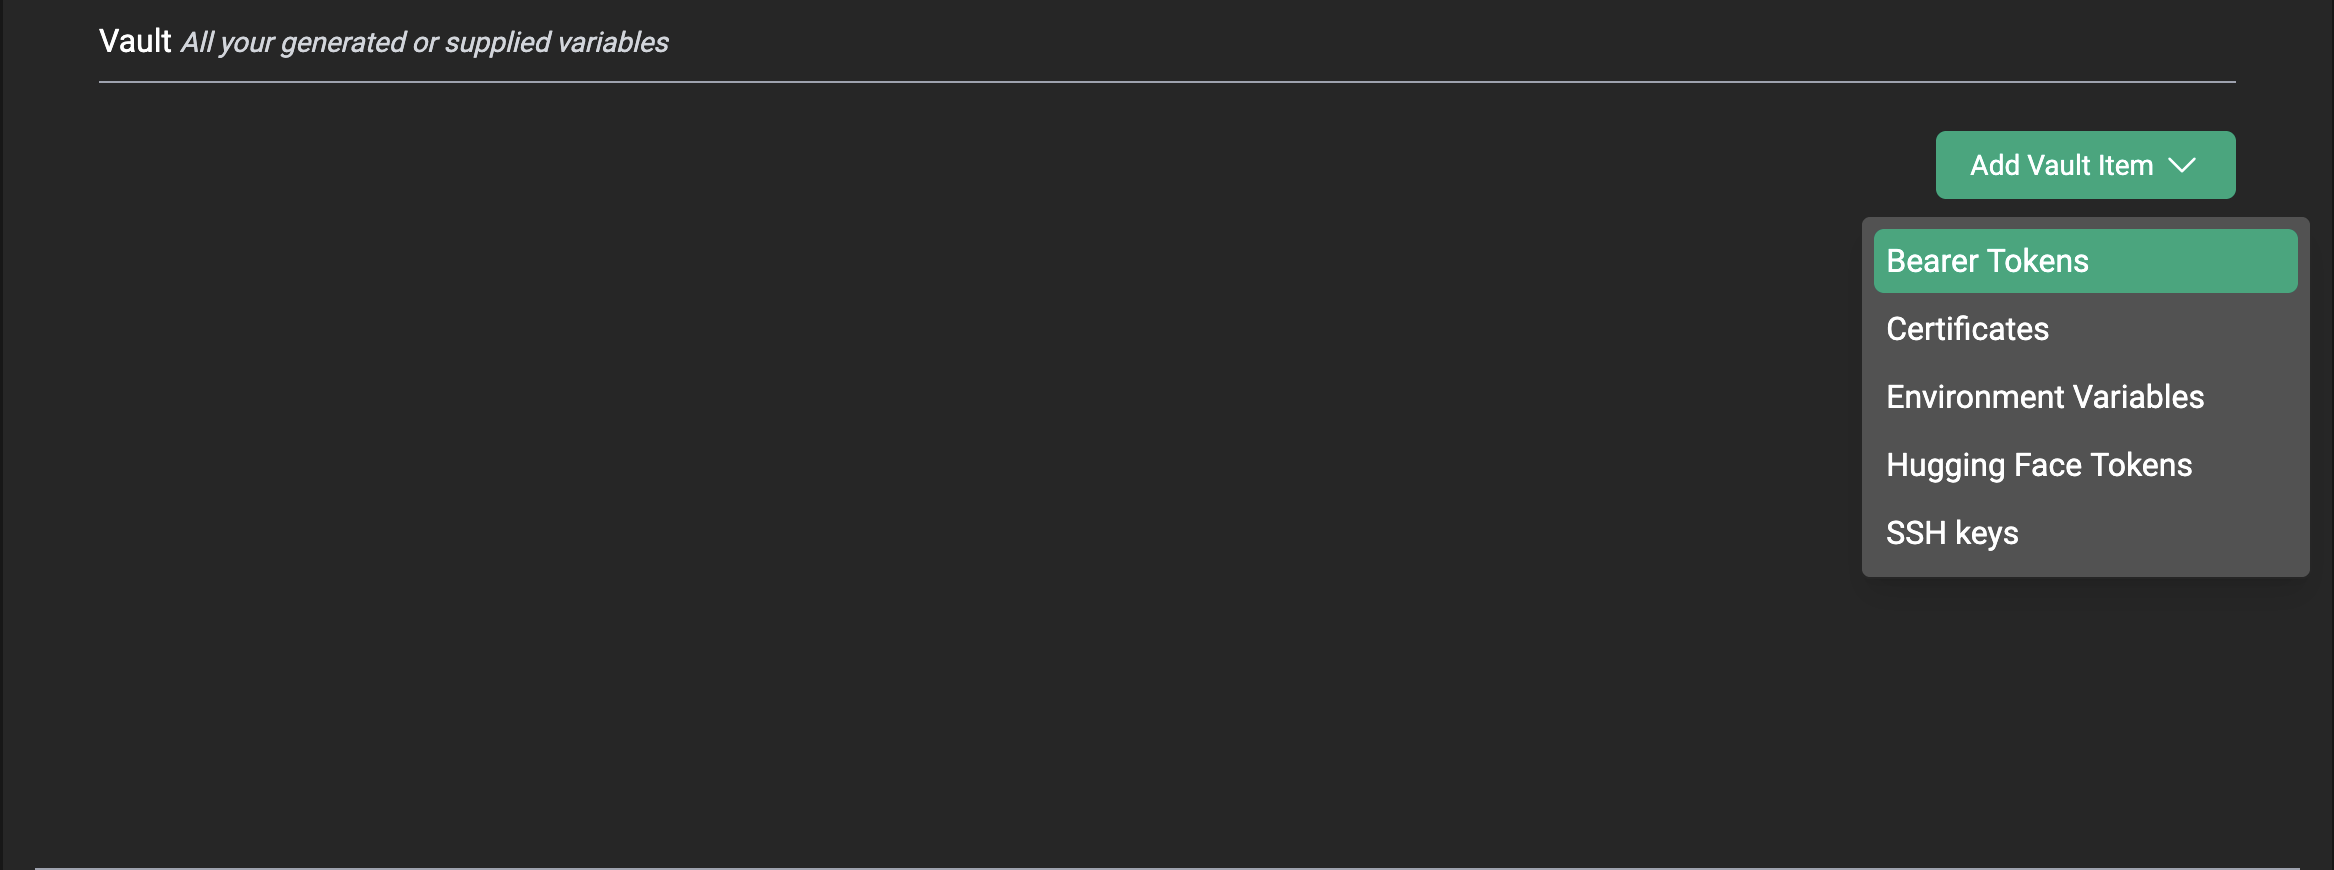
Step 2B: Creating Bearer Tokens
Bearer tokens can be used to access CentML services except for serverless endpoints. To generate a bearer token, select greenAdd Vault Item. A dropdown menu will appear. From that menu, select the Bearer Tokens option.
Add Bearer Token to Your Vault. From there, you can either name and automatically generate a token with the Generate new Bearer Token option or you can enter a previous token using the Use an existing Bearer Token option.
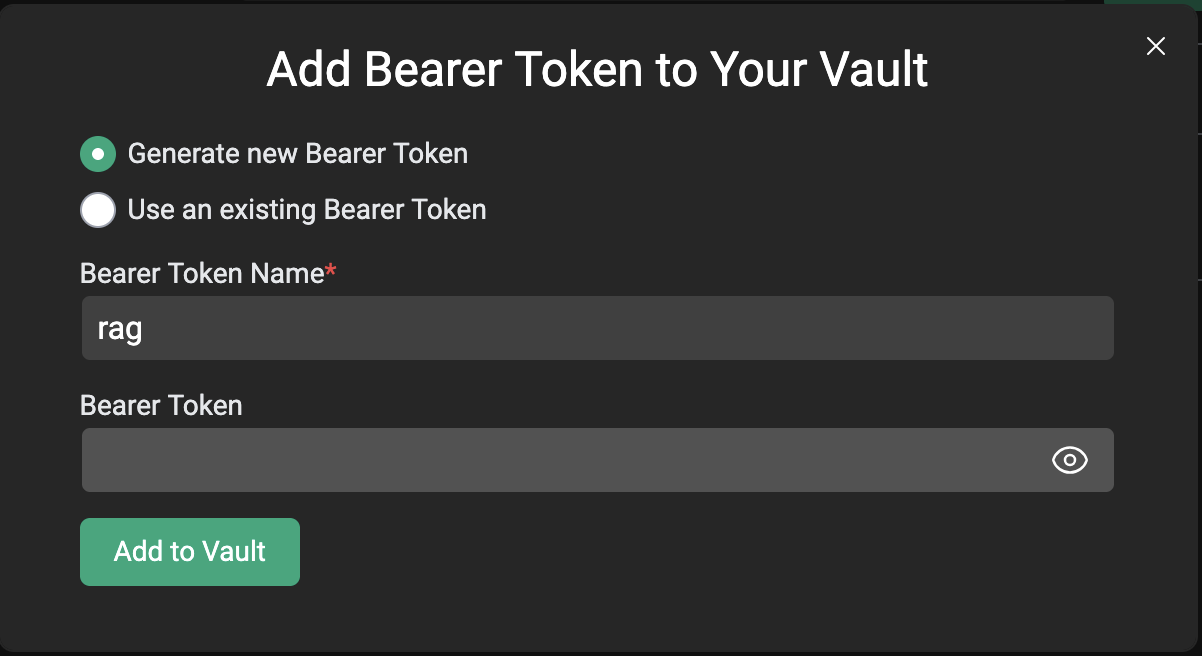
Add to Vault option and your Bearer Token should appear in your vault.

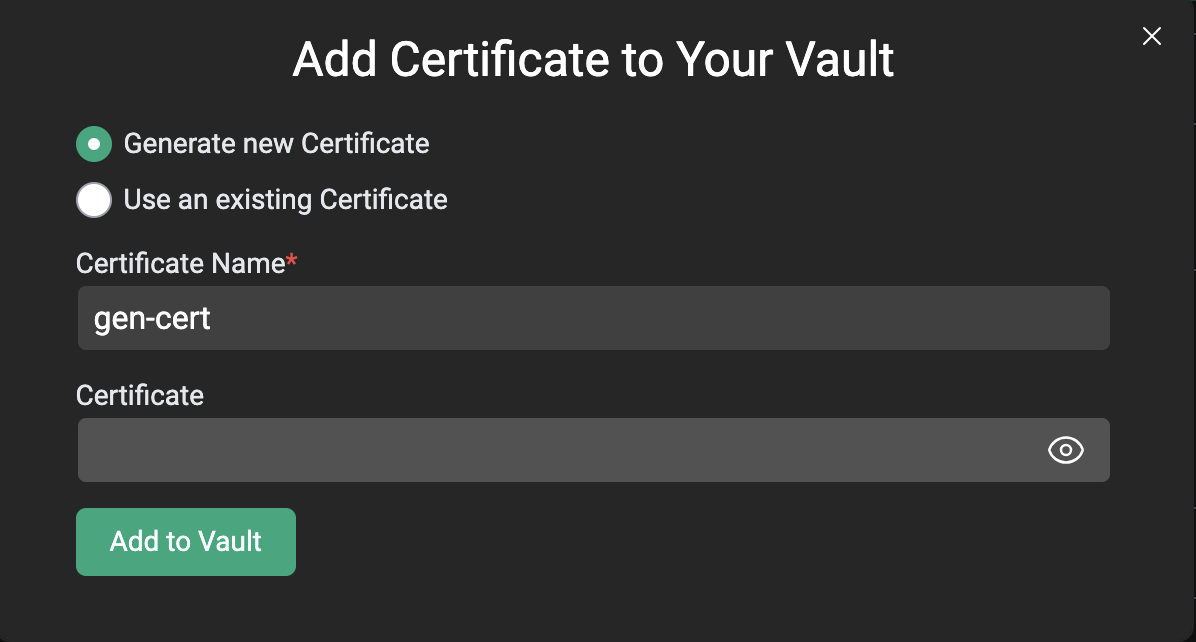
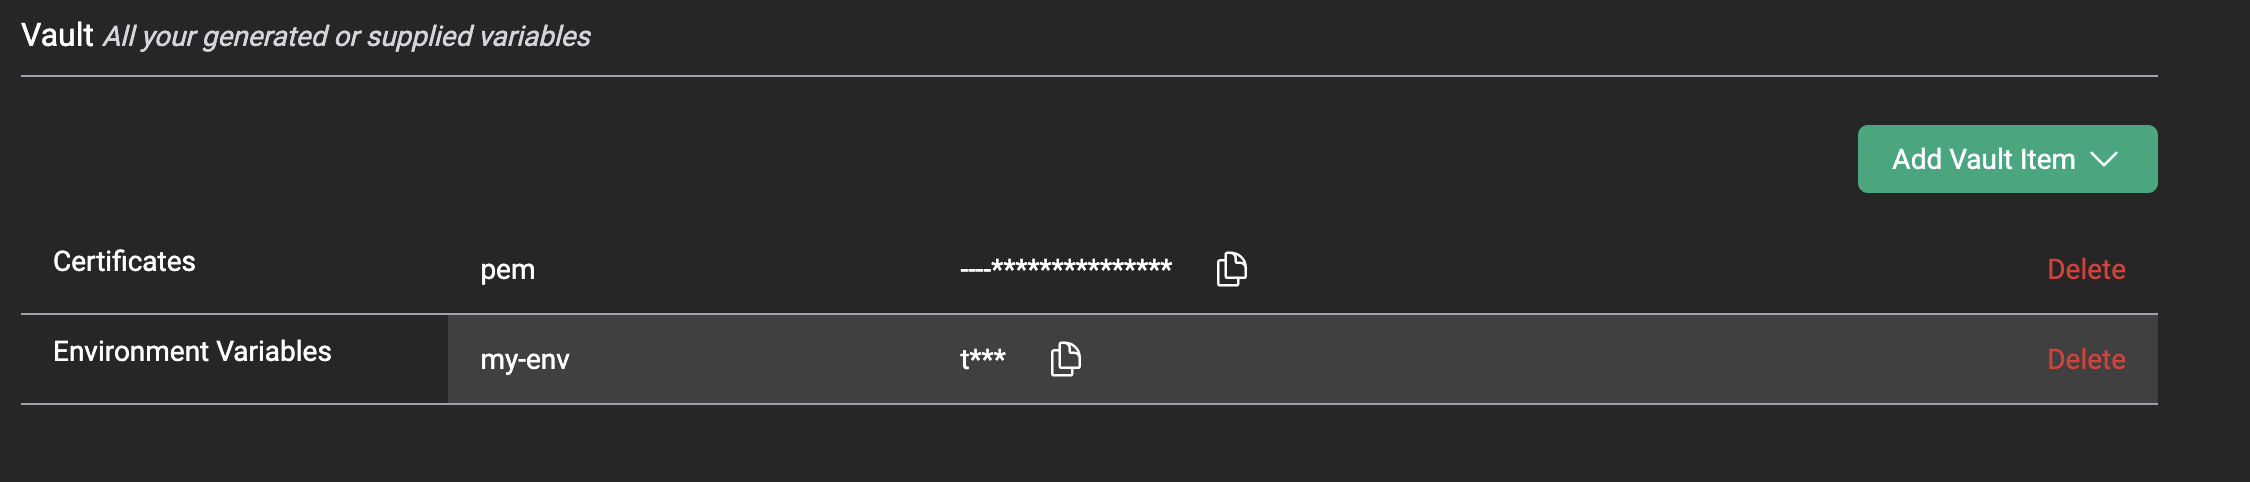
Step 2C: Adding Certificates to Your Vault
CentML uses client certificates for mutual TLS (mTLS) You can generate or add public certificates for mTLS just like you can with Bearer Tokens. Once you generate the certificate, it will appear in the vault.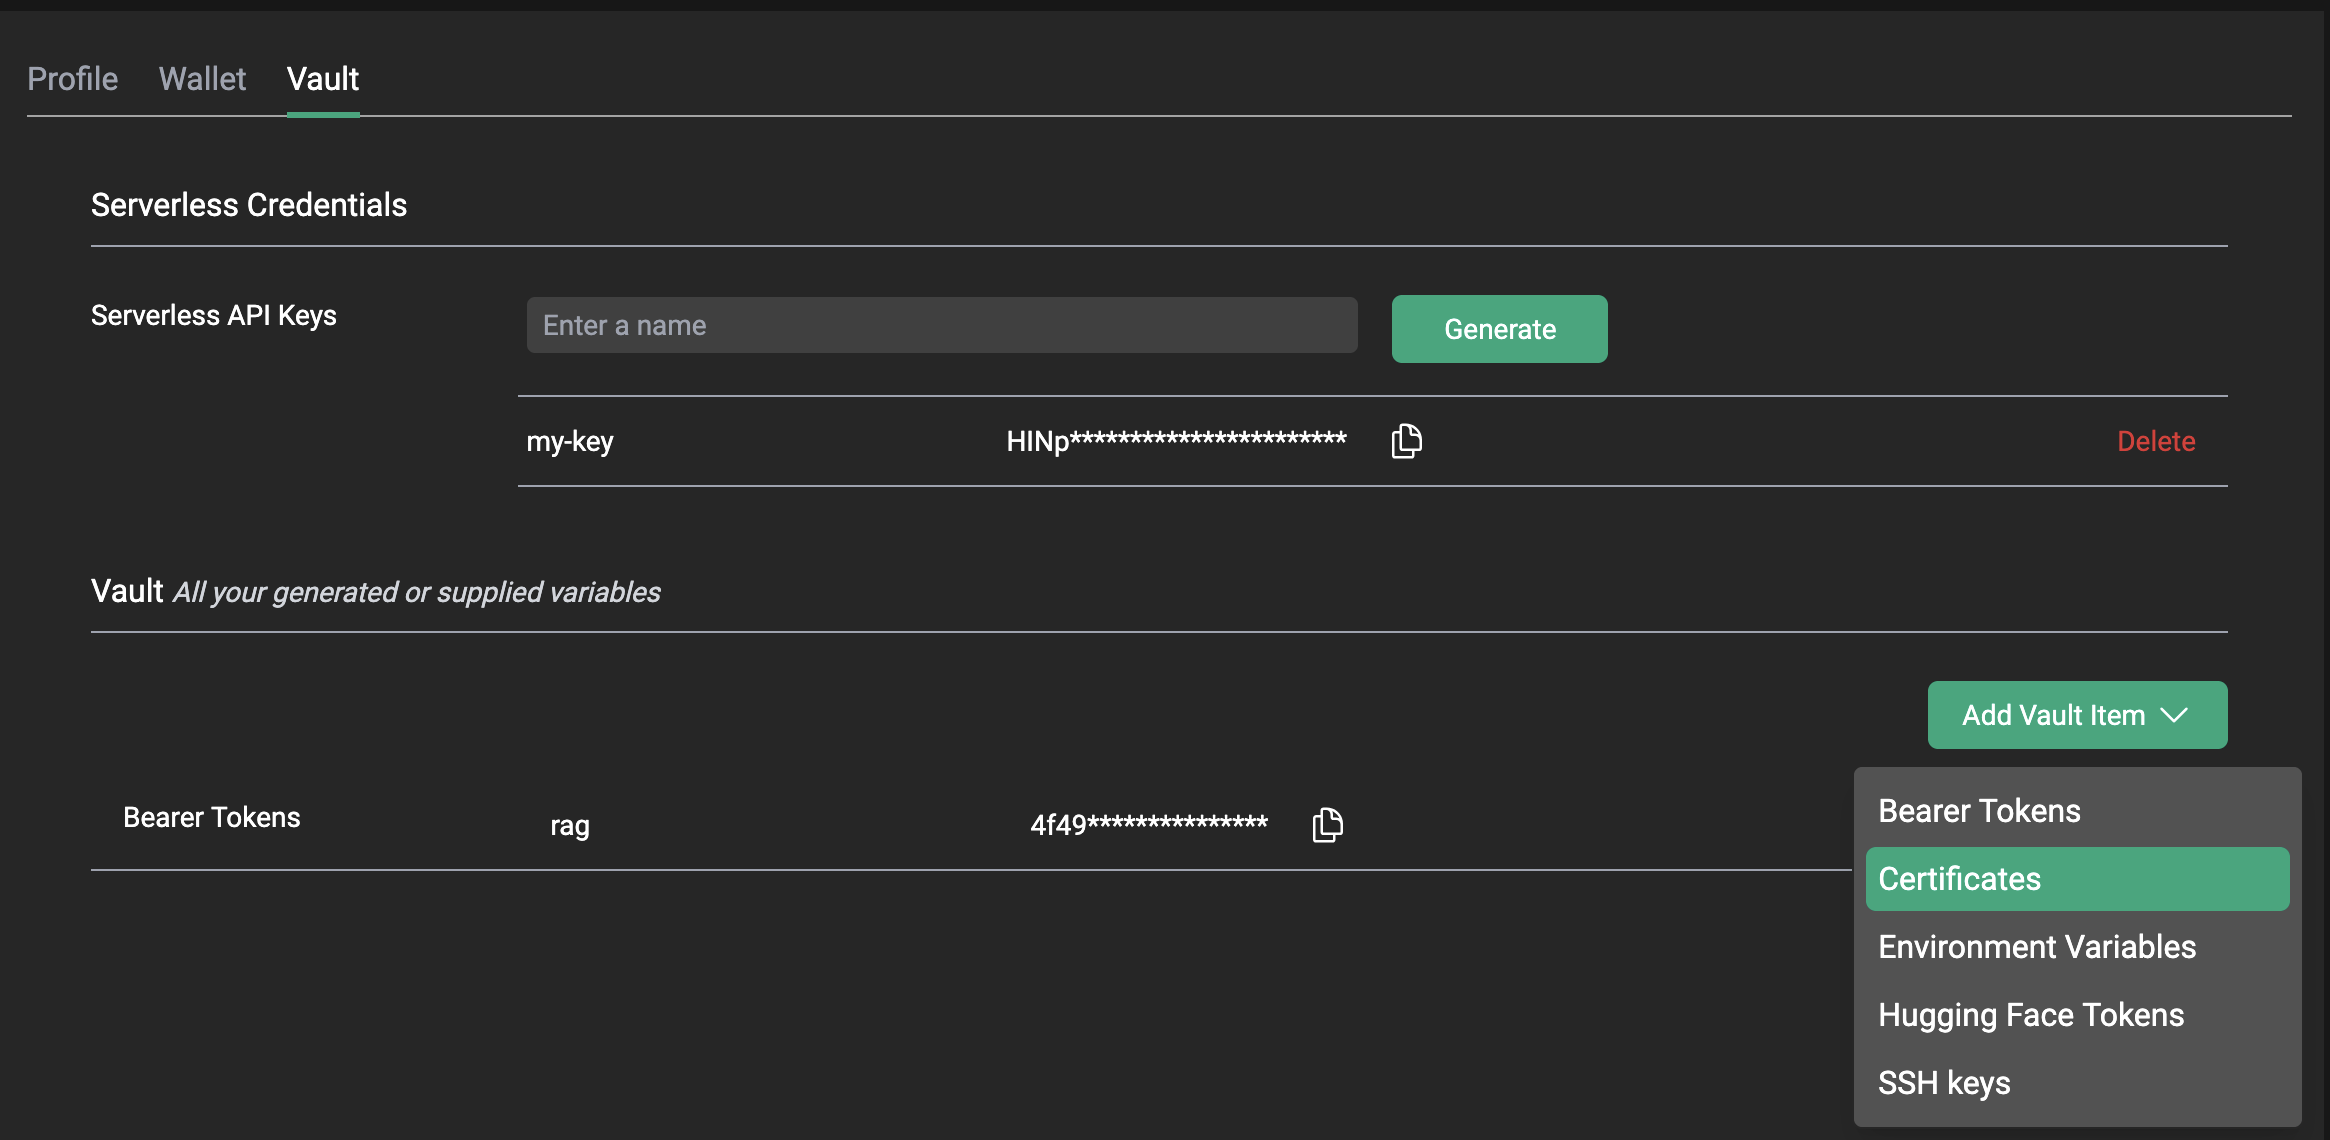
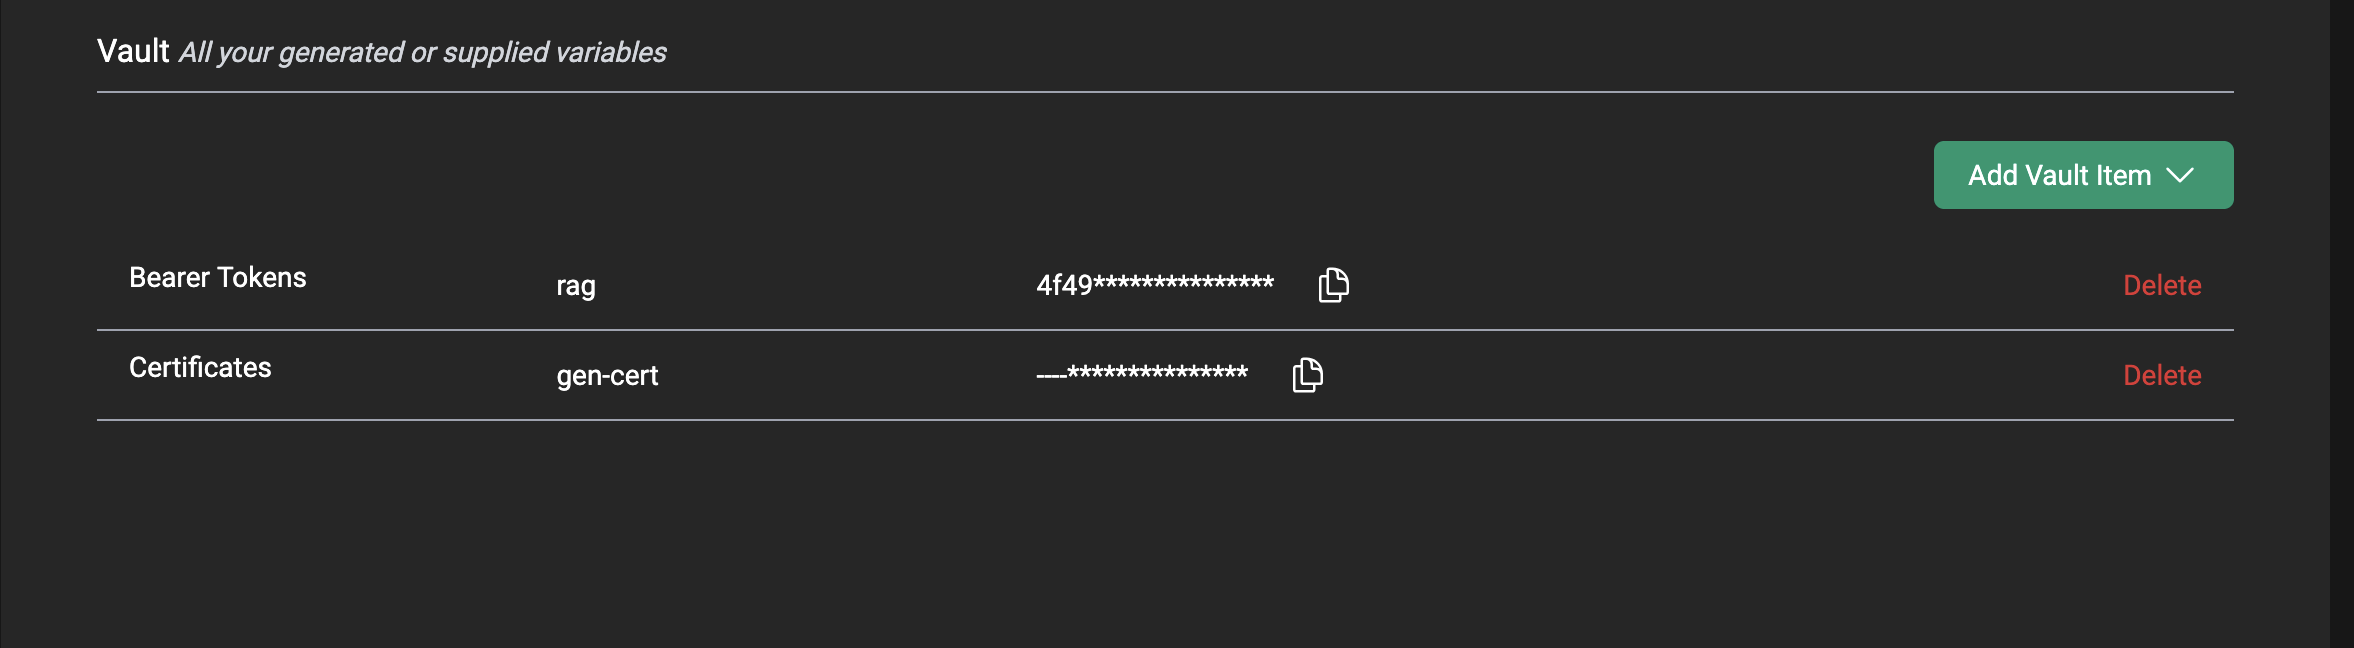
Vault Certificates generate a .pem file that is downloaded to your local browser. That .pem file is named after the generated cert. You can then use that .pem file to access one of CentML’s private endpoints as long as they are associated with the appropriate certificate and .pem pair.

Example usage
Adding Your Own Certificates
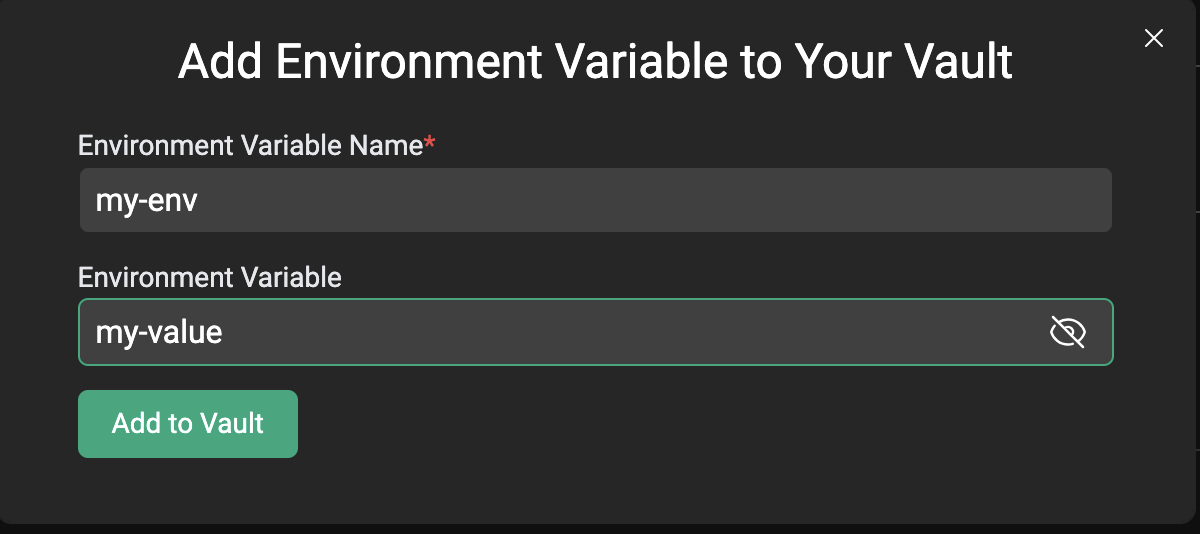
This section is currently under construction as we work to improve the UX around adding certificates to endpoints on the CentML platform. Please check back soon!Step 2D: Adding Environment Variables
What’s Next
LLM Serving
Explore dedicated public and private endpoints for production model deployments.
Clients
Learn how to interact with the CentML platform programmatically
Resources and Pricing
Learn more about the CentML platform’s pricing.
Private Inference Endpoints
Learn how to create private inference endpoints
Submit a Support Request
Submit a Support Request.
Agents on CentML
Learn how agents can interact with CentML services.